


Installing and Connecting BluCube
Installing and Connecting BluCube
Following are directions for installing and connecting a new BluCube. They may also be needed if you change your home WiFi equipment or change your WiFi network name or password.
These steps are also provided in the mobile app.
You will need to have your home’s WiFi password handy before beginning this process.
Installing BluCube
- Place your BluCube in a location in your home that is nearest to your water meter.
- Plug in the power adapter to a power outlet. The blue light on the side of the BluCube should begin flashing.
- Using a Wi-Fi-enabled device, go to your list of available Wi-Fi networks.
- Select the network named “BluCube******.” (The last 6 characters should match the number/letter combination on a label on the back of the BluCube.)
- After the device has connected to the BluCube’s Wi-Fi access point, a configuration page should automatically pop up. If it does not pop up automatically, open a new web page in your browser.
- Select “Auto Configure.”
- Choose your home’s Wi-Fi network (or enter it into the SSID field), and enter your Wi-Fi network’s password in the password field.
Once connected, the blue light on the side of the BluCube should stop flashing and turn solid once the BluCube has connected to your home’s Wi-Fi network.
If the blue light does not stop flashing and turn solid within one minute, please unplug the BluCube and repeat steps 1-7.
These steps are also provided in the mobile app.
You will need to have your home’s WiFi password handy before beginning this process.
Resetting the BluCube
If your BluCube continues to remain disconnected from your home’s Wi-Fi network, please reset the BluCube by inserting a pin into the small hole above the blue light on the side of the BluCube for five seconds. Then repeat steps 1-7.
Registering for the BluWater Web App
- Using a web browser, navigate to bluwater.cloud.
- Under the sign-in fields, click “Create a BluWater account.”
- On the first page, enter in your first name in the top field and your last name in the bottom field. Then click the “Continue” button underneath these fields.
- On the second page, enter in your street number in the top field, without including any letters or unit numbers. Ex: “1407”
- In the next field, enter in your city name.
- Select your state from the dropdown menu.
- In the next field, enter in your zip code.
- Click the “Continue” button underneath these fields.
- On the third page, enter your email address in the field provided. Then click the “Continue” button.
- Please note that at this time, the email address is case sensitive, so if you enter “Jane.doe@gmail.com”, you will need to sign in the future with “Jane.doe@gmail.com”, and not “jane.doe@gmail.com” or “Jane.Doe@gmail.com”.
- On the fourth page in the first field, enter in a password consisting of at least six letters, numbers, and punctuation marks.
- Re-enter the same password in the field below.
- Underneath these fields, check the checkbox next to “I agree to the BluWater terms”.
- You may click this text to view the BluWater Terms and Conditions.
- Click the “Create Account” button below.
- On the next page, enter the transmitter ID that was emailed to you when Pecan Street installed the BluBand on your water meter. It will be a 5 digit number starting with “20”.
- Click “Save” in the top right corner.
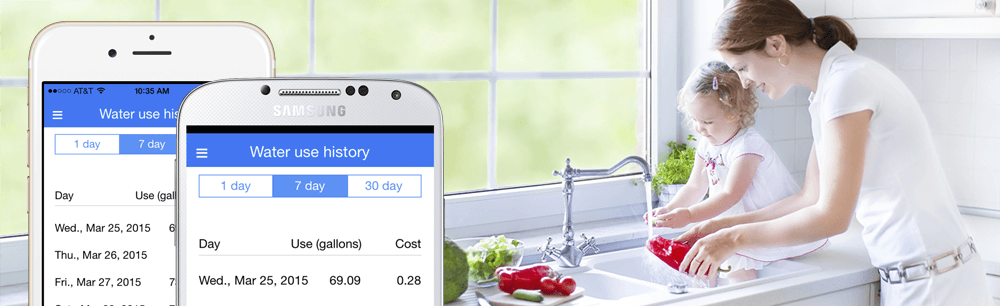
Now you can begin viewing your water usage in near-real time on the Dashboard and Day Detail pages, as well as historic use on the History page. To further assist Pecan Street as it develops insights about residential water usage, please enter in information about your home on the My Home page.
If you have additional questions or need assistance over the phone during the installation process, please contact Rachel Jenkins at 512-782-9213 or rjenkins@pecanstreet.agirlcreativeproduction.site.